
Salesforce Email-to-Case troubleshooting is one of those core skills that every Salesforce Admin eventually needs. You may have set up routing addresses, queues, and assignment rules perfectly — yet one day, your users notice cases showing up in the wrong queue or being created twice. Sounds familiar? This guide walks you through the most common issues and provides seven actionable tips to regain full control of your Email-to-Case setup.
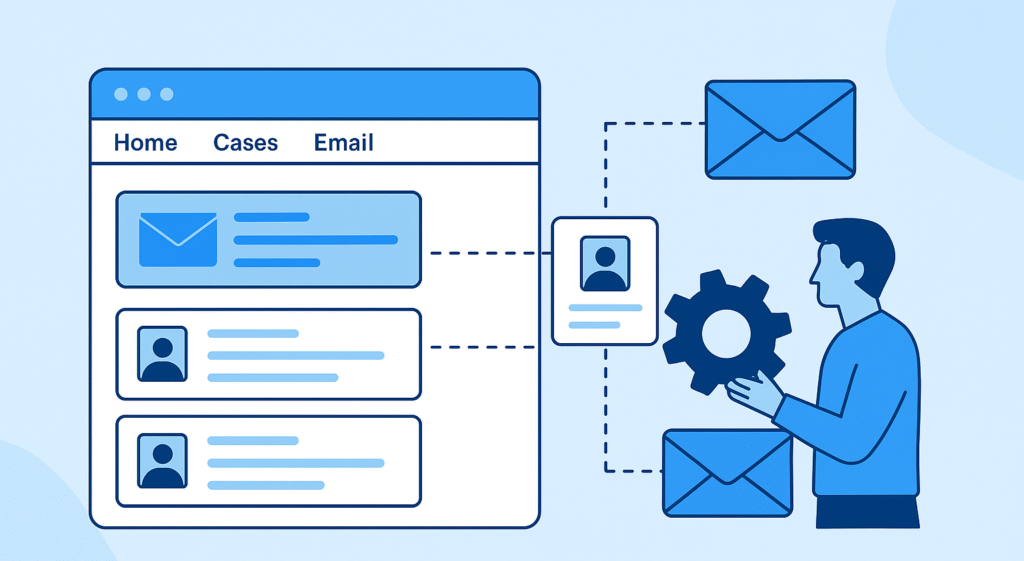
Table of Contents
- Introduction
- Why Cases Are Created Outside Configured Settings
- Step 1 – Diagnose the Root Cause
- Step 2 – Review Email-to-Case Configuration
- Step 3 – Check Assignment & Routing Rules
- Step 4 – Prevent Duplicates via Flows
- Step 5 – Test and Validate with Logs
- Step 6 – Ongoing Monitoring & Governance
- Step 7 – Best Practices for Admins
- Conclusion
Why Cases Are Created Outside Configured Settings
When cases are created outside configured queues or record types, the cause often isn’t random. Salesforce follows a strict order of execution when processing emails, and any step in that chain can fail silently. Understanding this order is key to mastering Salesforce Email-to-Case troubleshooting and preventing misrouted cases.
- Unverified Routing Address: If an address isn’t verified, Salesforce defaults to the standard Case owner and record type.
- Conflicting Rules: Multiple active assignment rules or automation flows may override each other.
- Forwarding Loop: Domain-level forwarding can resend the same email twice, producing duplicates.
- Inactive Queue Members: If all queue users are inactive, Salesforce assigns ownership based on fallback rules.
- Header or MIME Errors: Damaged email headers break thread tracking, forcing Salesforce to create new cases.
Step 1 – Diagnose the Root Cause
Before adjusting any configuration, identify how the rogue cases were created. Salesforce provides several built-in tools that make this process faster and more reliable. Here’s a structured troubleshooting approach:
- Check the “Created By” field – This tells you whether the case came from the Email-to-Case service user or another integration.
- Inspect the related Email Message – Open the record and confirm the “To Address” and “Message Identifier.” If the “To” doesn’t match your routing address, it came from somewhere else.
- Enable debug logs – Go to Setup → Debug Logs and add the Email-to-Case user. This reveals whether automations triggered unexpectedly.
- Compare Thread IDs – Duplicates often share the same Thread ID, proving they came from forwarded copies.
- Audit queue membership – In Setup → Queues, verify that each queue still has at least one active member.
By following these steps, you’ll pinpoint the layer where the failure starts — routing, forwarding, or automation — and can fix it efficiently without trial and error.
Step 2 – Review Email-to-Case Configuration
The next stage in Salesforce Email-to-Case troubleshooting is to confirm the Email-to-Case setup itself. Small details can change routing outcomes drastically.
- Go to Setup → Email-to-Case.
- Ensure that either Enable Email-to-Case or On-Demand Email-to-Case is active.
- Open each routing address and verify:
- Status is “Verified.”
- The assigned queue and record type match the intended process.
- The “Accept Email From” field includes trusted domains.
- Confirm the default Case owner and record type are intentionally set as fallback values.
- Save and re-verify addresses if any show “Pending Verification.”
Verification is often overlooked but critical. Since the Spring ’22 release, Salesforce enforces verified email addresses for Email-to-Case routing. If verification expires or isn’t completed, Salesforce will ignore custom rules and route cases to the default owner.
Step 3 – Check Assignment and Routing Rules
After confirming your routing addresses, check your Case Assignment Rules. These rules define how Salesforce routes new cases and often contain hidden conflicts that disrupt behavior.
- Open Setup → Case Assignment Rules.
- Review the order of active rules. Salesforce stops evaluating after the first match.
- Ensure your Email-to-Case routing condition (e.g., “Origin equals Email”) appears early in the sequence.
- Deactivate outdated rules that reference queues or users that no longer exist.
- Test each condition manually by sending a sample email with matching criteria.
It’s common for admins to add temporary routing rules and forget to disable them later. Even a single misordered entry can cause all incoming messages to ignore your intended logic. Keeping rules clean and minimal is a best practice for stable operations.
Step 4 – Prevent Duplicates via Flows
Duplicate creation is one of the most frustrating issues to resolve, and it’s a classic topic in Salesforce Email-to-Case troubleshooting. Duplicates typically occur when both the original and a forwarded copy of an email reach Salesforce through different routing addresses. Here’s how to prevent them using a simple Flow:
- Build a Record-Triggered Flow on Case (before save).
- Add a Get Records element to find any Case where:
- Thread ID equals
$Record.EmailMessage.ThreadIdentifier, and - CreatedDate is within the last 10 minutes.
- Thread ID equals
- If a match is found, set the Flow to “Do Nothing” (thus preventing a duplicate save).
- Otherwise, allow the case to continue creation normally.
This lightweight Flow keeps your org safe from flooding when forwarding loops occur — no Apex code needed. For advanced setups, you can extend the logic to compare sender domains or message subjects for additional protection.
Step 5 – Test and Validate with Logs
Once your configuration and Flow safeguards are ready, it’s time to validate them in real conditions. Consistent testing is the most underrated part of Salesforce Email-to-Case troubleshooting, but it’s where most admins discover hidden issues before users do.
- Send test emails from multiple domains — internal, external, and one unauthorized. Observe how each is handled.
- Check case ownership and queue to ensure messages land where they should.
- Open the Email Message record and confirm fields like To Address, Thread Identifier, and Message Identifier match the expected values.
- Inspect debug logs for the Email-to-Case user to verify the routing steps executed in the correct sequence.
- Validate attachments by sending PDFs, DOCX, and images to confirm they are processed safely and within size limits.
Testing should not be a one-time event. Schedule quarterly Email-to-Case validation routines — especially after Salesforce updates or domain policy changes. A few preventive tests can save hours of crisis debugging later.
Step 6 – Ongoing Monitoring & Governance
Even the best configuration can drift over time as your org evolves. Continuous monitoring is the backbone of reliable Salesforce Email-to-Case troubleshooting. Here’s how to build a lightweight governance system that keeps everything aligned:
- Reports and Dashboards: Create a weekly report that filters cases created by the “Email-to-Case” user. Spikes usually mean automation conflicts or spam floods.
- Error Notifications: Enable error handling in your Flows and direct notifications to your admin email group.
- Queue Audits: Review active queue members monthly to avoid unassigned cases.
- Verification Audits: Maintain a checklist of all routing addresses and their verification status. Re-verify if one shows “Pending.”
- Email Security: Partner with your IT team to monitor SPF, DKIM, and DMARC records for consistency across domains.
Adding a small “Governance Checklist” in your admin documentation ensures that whoever inherits your org can maintain it with the same reliability you built. Governance is not bureaucracy — it’s your insurance policy against chaos.
Step 7 – Best Practices for Admins
After years of helping teams stabilize their support environments, these are the most consistent best practices for smooth Email-to-Case operations:
- Document every change: Keep a running log of queue edits, routing updates, and assignment rule modifications.
- Maintain consistent naming: Use clear prefixes like ETC_Support or ETC_Billing for queues and routing addresses.
- Limit automation overlap: Consolidate logic into Flows. Avoid maintaining old Workflow Rules alongside new automation.
- Use sandbox testing: Always validate new routing logic in a sandbox with sample emails before deploying to production.
- Train support teams: Make sure agents know to reply within Salesforce to preserve thread IDs.
- Review deliverability logs: Check for bounced or rejected messages monthly.
- Stay updated: Follow Salesforce release notes for any Email-to-Case changes that might impact your setup.
By building this culture of documentation and testing, you not only improve case management efficiency but also reduce dependencies on a single admin’s memory. Teams become more confident, and customer emails stop “disappearing” mysteriously.
Useful Resources for Continuous Learning
For additional reading and official references, explore:
- Salesforce Help: Email-to-Case official setup and troubleshooting guide
- Trailhead: Email-to-Case module – free interactive learning path for admins
- Related: Salesforce Case Assignment Best Practices
Conclusion
When it comes to Salesforce Email-to-Case troubleshooting, consistency beats complexity. The most stable implementations aren’t necessarily the most sophisticated — they’re the ones that are verified, documented, and continuously tested. Every step you take to clarify routing logic or strengthen validation rules pays dividends in operational peace of mind.
Use the steps from this guide as a repeatable playbook: diagnose the source, validate configuration, refine rules, test continuously, and audit regularly. Combined with governance and team awareness, this approach keeps your case creation reliable and transparent — exactly how Salesforce Service Cloud is meant to operate.
By investing time in solid Salesforce Email-to-Case troubleshooting routines, you’ll not only reduce escalations but also position yourself as the admin everyone trusts when something breaks — and that’s a priceless skill in any Salesforce ecosystem.